I am excited about a 2 part series we are starting on Photo Organizing.
My challenge was with print photos
Rhonda’s challenge was with digital photos
Both weeks we welcome our friend, colleague and guest blogger Daina Makinson to share her expertise in the area of photo organizing.
A little about my photo challenges and then Daina’s expertise below!
When we rightsized 3 years ago I was faced with many photo albums taking up lots of space. I made a big decision and decided to take all the books apart with the plan to make new smaller and more compact digital books to have printed. I called Daina to get me started with this overwhelming task. She encouraged me to sort my approximately 2000 photos into stories rather than chronological order. I decided I liked this idea and created categories such as:
- Christmas
- Vacations
- Family Projects
- Section for each family member on their own
- Section for siblings together
- Family history
- etc. I have about 18 categories in total
The key was categories that made sense to me and Daina helped me create specific parameters of what went into each category so I could sort the photos quickly and efficiently.
Once I had the sorting complete I paid the cost to have Daina scan the photos and return them to me on a memory stick. I put them onto my computer and I now have access to all of those photos digitally (sorted by category). Yes, this did cost me a significant amount of money, but Murray and I decided that it was an investment in our family and our history. Each of our children now have the full set of photos on their personal computers and have use of them for the future however they may want or need to use them.
I have now begun phase 2 of my photo project which is to create the space efficient printed photo books. I have 3 completed so far!
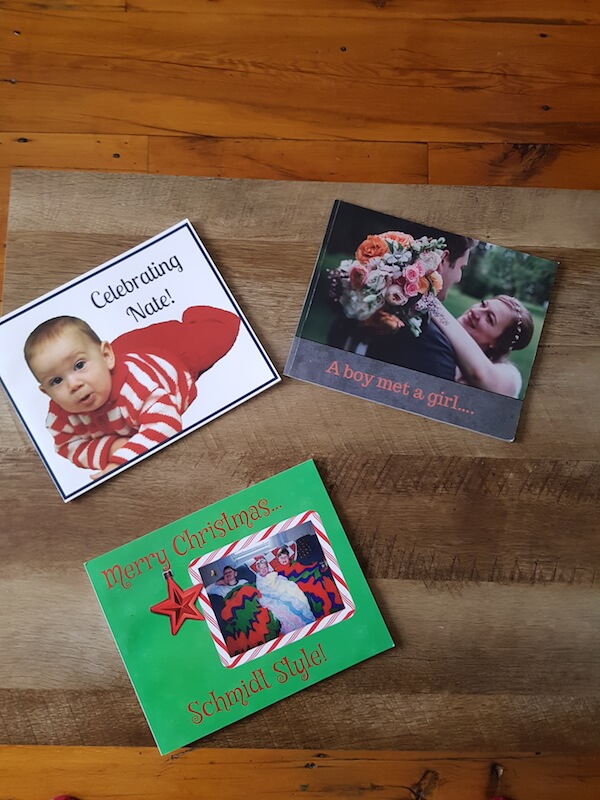
My first was a Schmidt Family Christmas book that I gave as a Christmas present to the kids last year. It chronicled happy family Christmas memories and experiences all through the years.
How to Organize Your Print Photos and Keep Your Legacy Alive For Generations
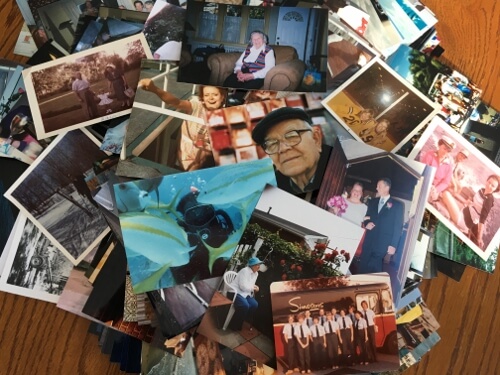
How would it feel to have all the photos of your childhood organized so that you could preserve and protect your family print photo history gathered over the decades for generations to come? Or have you inherited your parent’s photos and now become the keeper of the family heritage? If you have boxes and big plastic cartons full of photos, it’s understandable that you may not know where to begin. If you were looking for a needle in a haystack you might feel exactly the same way. Just know that you are not alone. And that it can be done. Starting with one photo at a time.
Six Steps to Organize Your Print Photos
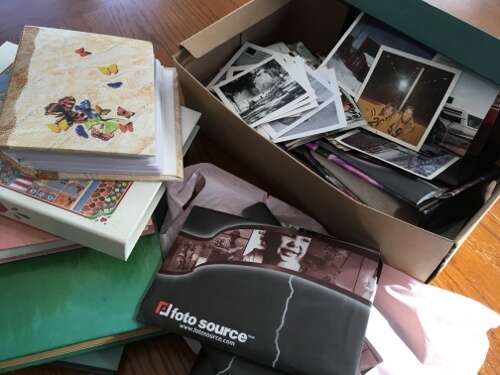
- Gather All Your Photos in One Location.
Find every photo you own whether in boxes, bags, albums, framed or even loose photos and bring them together in the one location you are going to work. You will need a large table, possibly in a space where you can leave and come back to the project whenever you are able. If you have the luxury of keeping your photos in “transit” for the duration of the project then cover your work at the end of each session with a sheet to keep dust and/or curious hands away. Need the table for dinner every day? Then store the organized photos in a Ziploc bag by category with the index card inside the bag, keeping categories separate if possible.
- Work With One Small Batch at a Time
It’s much easier to start and work with just a handful of photos at a time. And when working with this six step process it won’t matter if the photos are completely mixed up or still in the original photo store envelope in perfect order. Although from experience I can tell you not to hope for that as it is rare. Consider it a gift when you do!

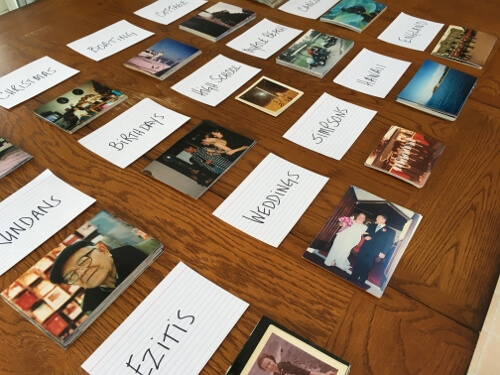
- Create Piles of Photos by Category
When working with print photos it can be difficult to sort chronologically. Some photos did come with a processing date stamped on them, but over the span of time, chances are most photos in your collection do not. Our lives are like a book, and like any book it’s made up of chapters told by the people, places and events of our lives. Start by writing those categories on index cards in big bold letters so that they can be easily seen as the project grows.
Some common categories are:
People – Our Family (your immediate family – you and the kids), (The Kids – a category for each kid, plus a category for group kid shots), Grandchildren, Mom and Dad, Cousins, Nieces and Nephews, Pets etc.
Places – Home, Cottage, Vacations (all vacations or separate categories by location), High School, University, Work
Events – Birthdays, Weddings, Christmas, Graduation, Halloween etc.
Place each photo in the appropriate pile making sure not to cover the category written on the index card because you are going to use the cards to identify the correct pile to place a photo, not the top photo. This will keep you on track and prevent you putting photos in a category it doesn’t make sense to be in. Believe me, it happens. When you come across a photo that may fit more than one category, consider the point of reference that you are most likely to search for it. For example, if it’s a group family photo at the cottage for a birthday, how would you ultimately most likely look for that picture? And don’t fret over it too long. There’s no right or wrong here. If you end up looking for it under the “Cottage” category and it’s not there, your search will be shortened because you will most likely look under “Birthday” or “Family” next.
4. Edit, Edit, Edit
There are four good reasons to keep a photo.
- It evokes an emotion
- It tells a story
- It has historical importance
- It’s the only photo you have of something or someone important to you
We don’t need to keep every photo we have in our lives. If it doesn’t meet this criteria you don’t really need it. So create three more piles in your sorting: EDITS, TO BE IDENTIFIED and DUPLICATES. Edits are the photos that you don’t want and neither will anyone else. To be identified, are the photos you aren’t sure of and need to consult family members or others to determine who is in the picture and if it has significance (meets the criteria to keep a photo.) And duplicates are just that. Remember back in the day when you took your roll of film to be developed, and even though you had no idea if the photos were any good, you went ahead and paid extra for duplicates, sometimes even triplicates. And you still kept them all. So what to do with duplicates? I recommend keeping them separate in a container and offering them to family and friends to look at and take any they choose. There’s a good chance they have never seen these photos and will be delighted you brought the moment back into their lives.
One more thing about editing – if a pile gets too big it means one of two things. You need to do more editing, or it needs to be resorted into sub categories. For instance, I once worked with a client who we started off with a “Celebrations” category. It teetered so high it was in jeopardy of toppling over. Once investigated we uncovered a mammoth amount of Halloween photos. This large family hosted a major party every year for the occasion, thus the Halloween category was born and ultimately we made a photo book titled: BOO!
- Scan and Preserve Digital Copies
No photo is immune from being lost. Natural disasters such as hurricanes, floods and fire are some of the predators of our print photo collection. So it’s important to scan your photos and preserve then digitally. Do you need to scan every photo you own? Not necessarily, that’s up to you. You should digitize the WOW photos which are the ones you want to live among you and your family on a day to day basis. Whether they are framed, created into a photo book or wall art, these are the pictures that you love and want to continue to enjoy the moments and share the stories. Then there are photos that don’t necessarily need to be in your life all the time but you keep because they are part of your story and should be preserved for generations to come.
- Store Safely
Now that you’ve digitized your photos should you keep your print copies or not? Print is still a very good form of backup. If you decide to keep the prints they should be storied in an archival box such as the Legacy Box. This beautiful box stores up to 2400 photos with 10 compartments and dividers in an acid and lignin free environment to preserve then in their current condition and prevent further fading or discolouration. To find out more about backing up your photos check out this blog by The Photo Organizers about the 3-2-1 Backup Plan

Find out more and watch this short overview of How to Save Your Photos on CHCH Television where Daina Makinson talks with Bob Cowan of Morning Live.
Founder of Snap Shot Solutions, Daina Makinson is a Professional Photo Organizer, specializing in digital and print organizing. For the past six years, she’s helped clients organize, preserve and protect their most precious memories with their photograph collection. Daina works one on one with clients to help them with the overwhelming task of bringing all their photos together, organizing them by the people, places and events of their lives.
Daina is a certified member of APPO, the Association of Personal Photo Organizers and has appeared on CHCH and Global Televisions morning shows, CBC’s prime time show Doc Zone, as well as the Guelph Mercury and Globe and Mail.
Website: www.SnapShotSolutions.ca